Selectable base currency

A large number of Tradervue users trade from outside the U.S., trading forex, futures, and U.S. stocks. And since 2013, Tradervue has supported trading products that are denominated in other currencies – for example, futures traded on Eurex, BMF, and Montreal exchanges, and forex.

The P&L from a trade is initially calculated in the transaction currency; for example, a trade in AUD/JPY will have its P&L calculated in JPY. A TWTR stock trade will have P&L in USD, and a trade in FDAX futures will show a P&L in EUR. Examples of this are shown in the article announcing forex support.

These “native” P&L values are shown on the trade detail view, and before today, they were also converted1 to USD for reporting purposes. All of the P&L shown in the Dashboard, Trades View, Journal View, and Reports View was shown in USD.

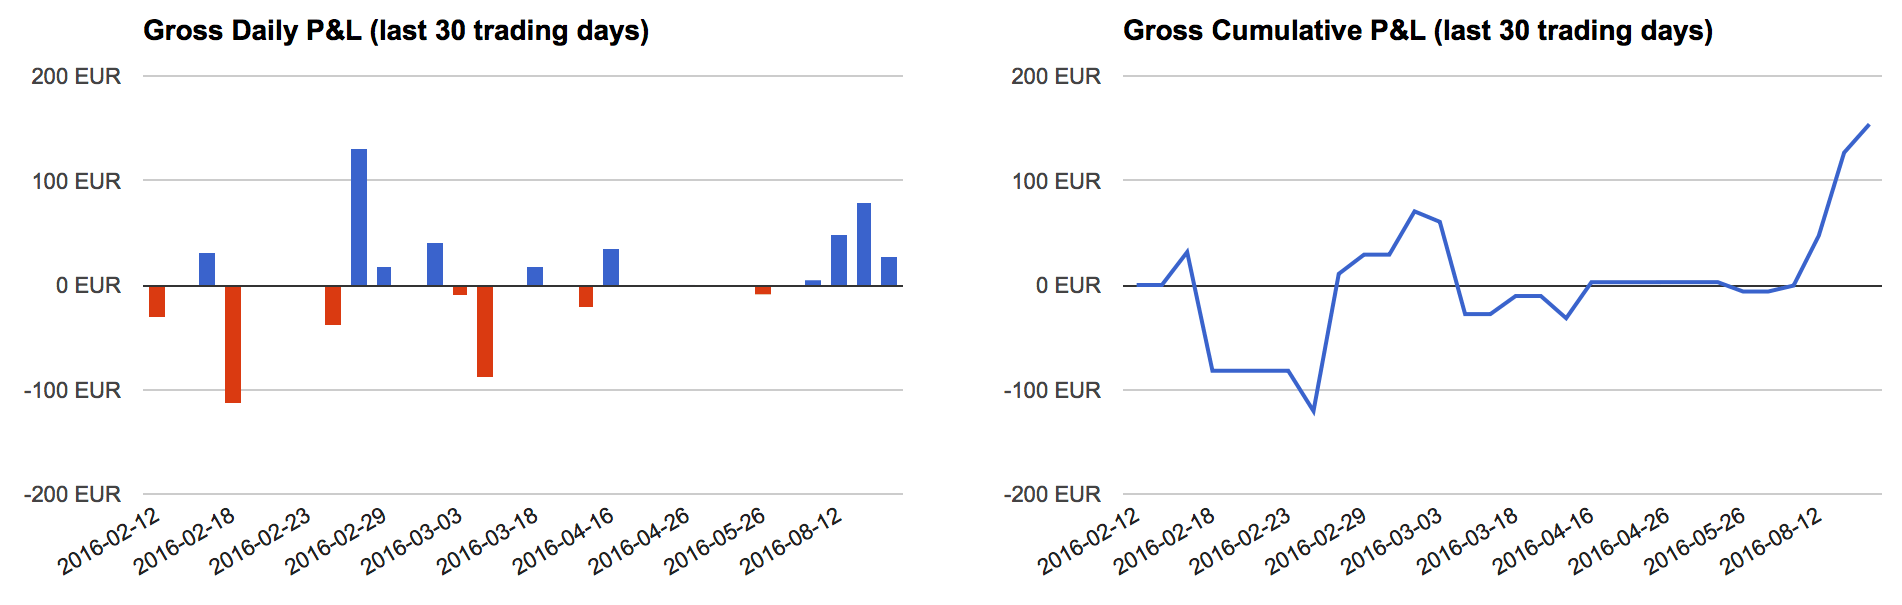
Beginning today, you can change your base currency from USD to another currency, and all P&L displayed in the Dashboard, Trades View, Journal View, and Reports View will be shown in your selected currency. For example, if you want all of your data and reports to be shown in EUR, you can now do that. Here’s an example of a stock trade in COG (a USD-denominated product), with a base currency set to EUR:

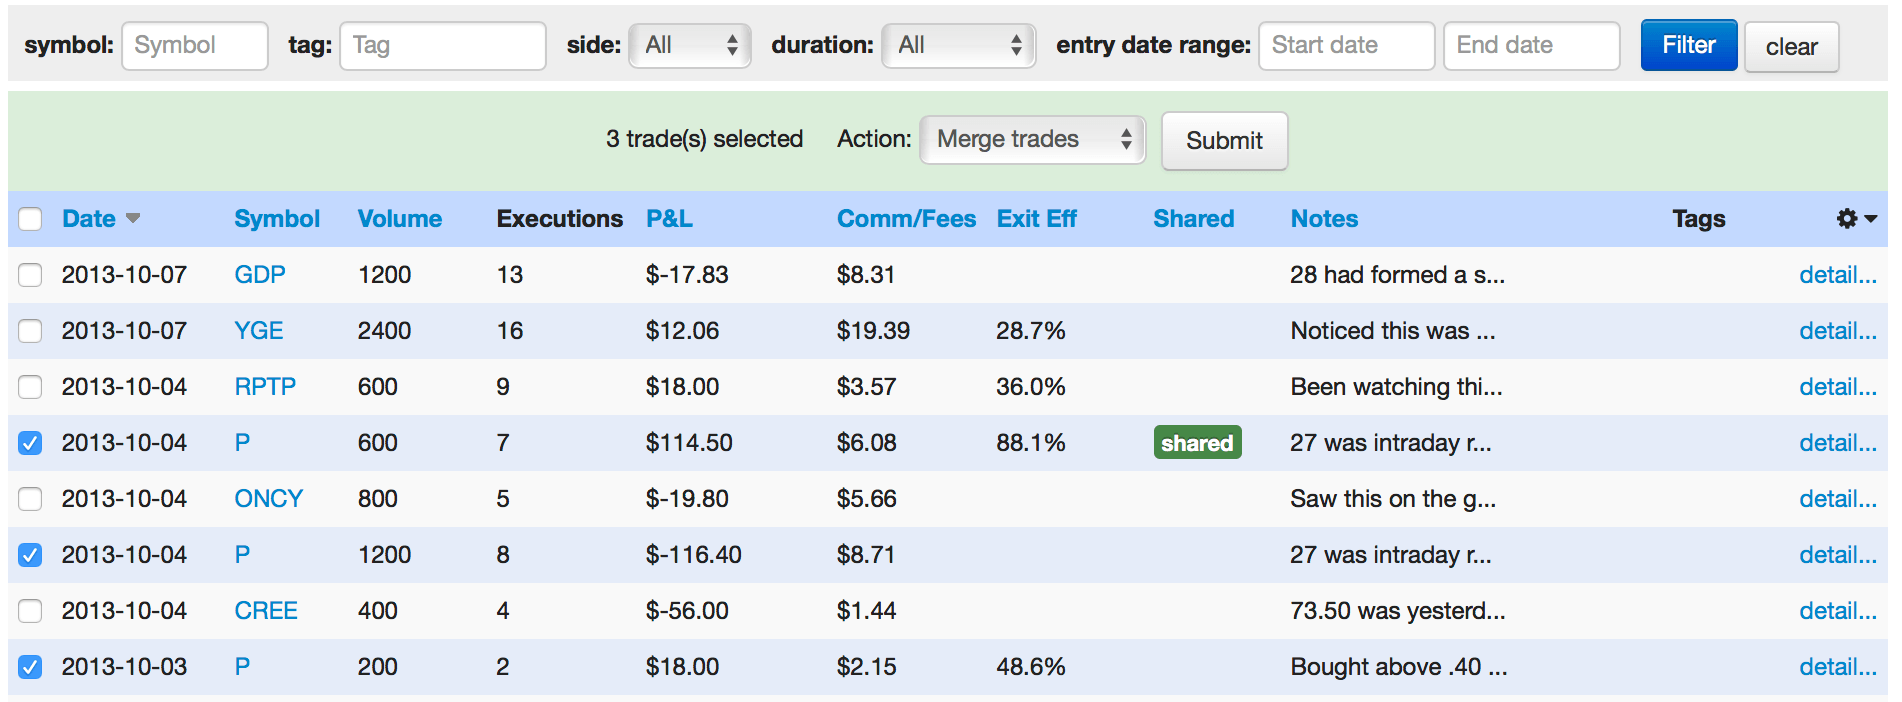
The Trades View will show in EUR:

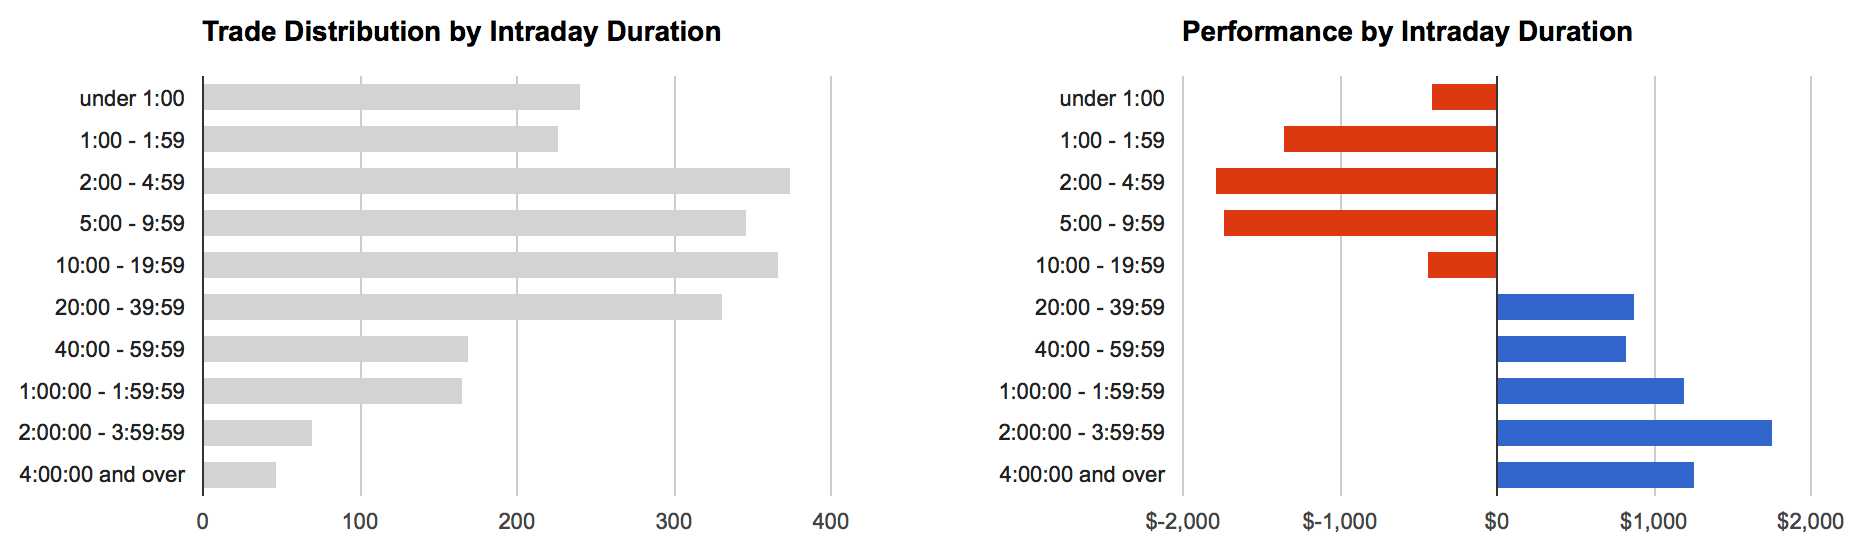
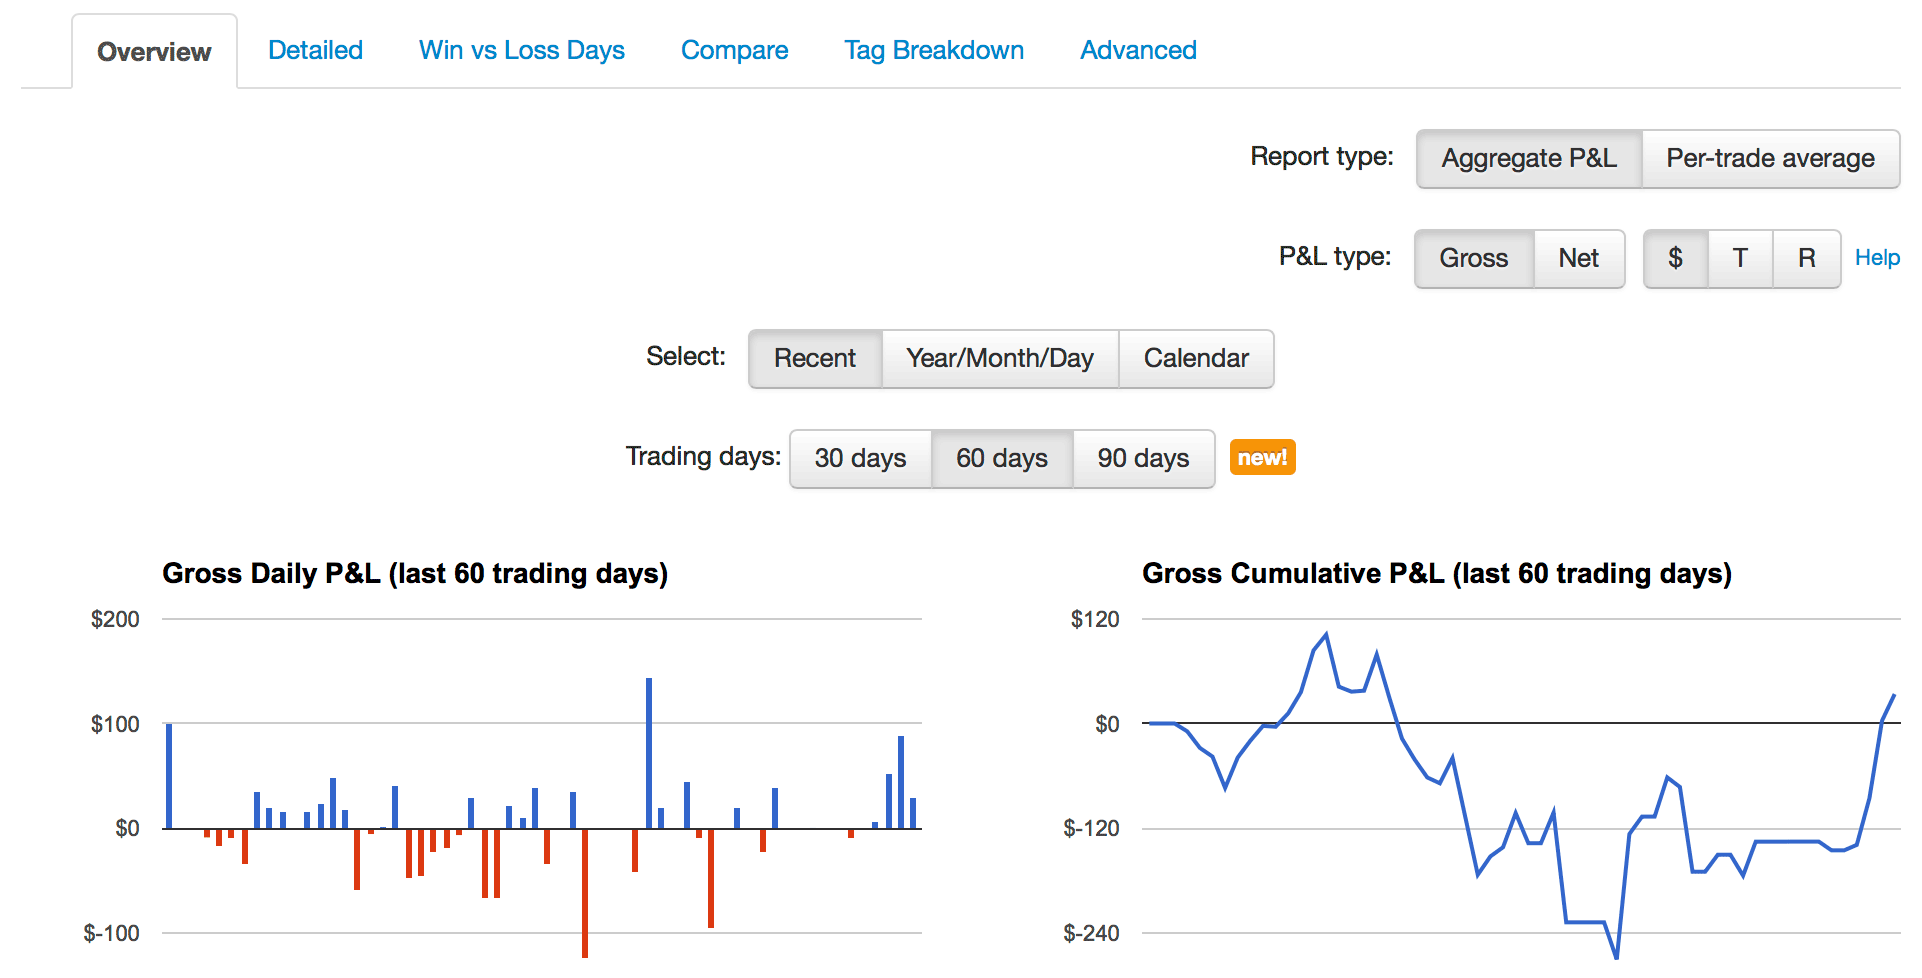
And the reports as well when running in currency mode (as opposed to ticks or R), including the charts:

And the statistics:

To change your base currency, go to the Dashboard, click Settings, and go to the new System Settings tab:

Choose the currency you want, and click Update. When you do this, all of your trades will change to show their P&L as “pending”:

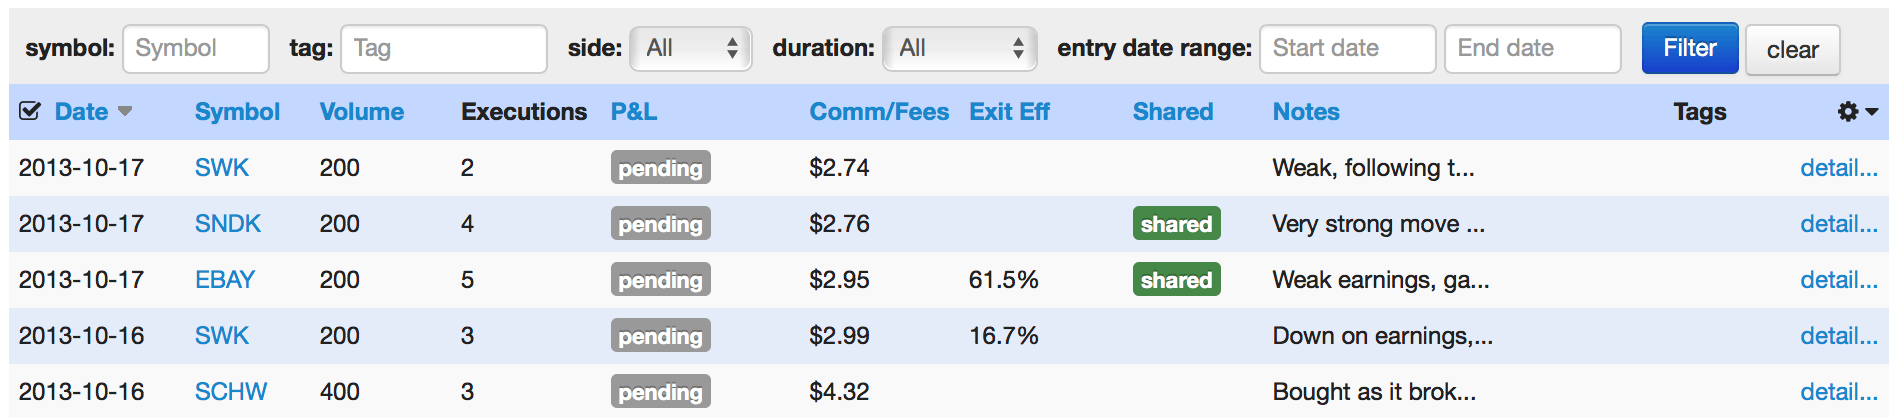
They will be recalculated in the new base currency, which may take anywhere from a few minutes to several hours. During the conversion process, you may see unexpected data in the reports, as not all of the trades have been converted yet. When you no longer see any “pending” trades, the process is complete.

When you change currency, your commissions, fees, and initial risk values also change their currency. However, their values are not converted between currencies – rather, they are interpreted as being in the new currency. If you have a commission of $2.50 in USD, then change to EUR, it will then be 2.50 EUR.

This illustrates a key point – the system is not intended to switch back and forth between currencies often. It’s designed to set the base currency you want to use, and remain there. But now the the base currency no longer needs to be USD.

All users on the silver or gold plan can change their base currency starting today!


  1. The actual currency conversion takes place at the specific times that P&L is realized; refer to the forex article for details. 

View times of MFE/MAE

When viewing a trade, you can see the position and price excursion data (MFE and MAE) right below the execution list for the trade, as described in MFE and MAE calculations. This data can be extremely useful for seeing your maximum interim profit or loss in the trade, and in aggregate can be very useful for analyzing stops.

Today, we have added the ability to see exactly when the MFE/MAE occurred in a trade. Simply hover your cursor over the MFE or MAE value you’re interested in, and you’ll see a small popup with the timestamp it happened at:

Especially when looking at position MFE/MAE, it’s not always obvious on the price chart where this occurs, if you’re scaling in and out of a trade. Having the timestamp quickly accessible makes it much easier to find!

MFE/MAE data is available for all silver and gold subscribers.

New manual split and bulk merge

During the import process, Tradervue groups individual executions into trades. If you want to make changes to how these executions are grouped, we’ve had the ability to split and merge trades.

However, there have been limitations. Specifically:

  • Trades could only be split at points where you were flat (with the exception of option trades, which had a split options feature)
  • Only trades adjacent to each other in a timeline could be merged

To see where this could cause problems, imagine the following scenario. You have a single trading account, and you buy 100 shares of stock, as a longer-term position. Then a few days later, you buy and sell a new position in this same stock, as an intraday trade. So we have:

11/22/2016 – buy 100 SPY

12/14/2016 – buy 200 SPY

12/14/2016 – sell 200 SPY

Up to now, if these were done in the same trading account, there was no easy way to split out the intraday trade (the buys and sells on 12/14) into its own trade, because you weren’t flat immediately before or after the intraday trade.

Similarly, for merging trades, if you had three closed trades in SPY (each with their own executions), one each opened on the following dates:

7/19/2016

7/20/2016

7/21/2016

There wasn’t an easy way to merge together the trades on 7/19 and 7/21, without also merging the trade on 7/20.

Today, we are making two changes to give you the flexibility to split and merge trades how you wish.

Manually split trades

You can now select any executions you want from a trade, and as long as together they form a closed trade of their own, you can split them out into their own trade. So in our example above, you could split out the intraday buy and sell on 12/14 into their own trade.

To do this, go to the detail view for the trade, click Advanced:

Then click Manual split:

You can then choose the executions to split out into their own trade.

Merge trades from the bulk editor

You can now select multiple trades with the same symbol using the bulk editor, and merge them together:

This helps in two ways. First, if you have a number of trades you wish to merge together, you can now do this in a single operation, rather than having to merge them one at a time from the trade detail view. And second, you can now merge trades that are not consecutive in the timeline of trades in that symbol. In our example above:

7/19/2016

7/20/2016

7/21/2016

You could now merge the trades on 7/19 and 7/21 together, and leave the trade on 7/20 standing alone.

These new features are available today for all users!

New report for duration of intraday trades

We have added a new report, showing distribution and performance for intraday trades based on how long you held the trades open:

You can find the new report in the Reports View, Detailed tab, Days/Times group.

The report is interactive, as well, so you can click on a bar in the report to create a filter showing only trades that make up that bar. So if you’re doing particularly well with your trades that are 2-5 minutes in duration, you can drill down into them for further analysis. If you haven’t used the interactive reports before, here’s a short (3:01) video demonstrating how to use them.

Create Journal entries and notes from iOS

A while back, we wrote about a 1Writer action to post journal entries and notes from 1Writer on iOS. That proved to be a pretty popular idea, and today we are making it easier to do that from almost any iOS app.

With a recent release of Workflow, it’s now possible to use the Tradervue API from within Workflow, without having to use any additional code. We can use this to create an action extension to post to Tradervue from any application that can share text. For example, here we are sharing a note from Bear to a new Tradervue journal note1:

https://youtu.be/G5-1h-FPwwY

First you’ll need to download Workflow from the App Store. Then, you can install our workflows by clicking these links on your device:

Tradervue Journal Entry – this workflow allows you to create or update the journal entry for the current day

Tradervue Journal Note – this workflow creates a new journal note

When you install those workflows, use the customize window that pops up and enter your Tradervue username (or email) and password; these will be stored on your device, and will be used by Workflow to access our API and send data to Tradervue. You can change these later if you wish by editing the workflow.

That’s it! You can now click the share button in apps that support sharing text — anything from Mail, to Notes or Drafts, to powerful writing apps like Ulysses. The very first time you try to share, you may need to add the “Run Workflow” action to the share sheet; scroll all the way to the right, tap More, and enable Run Workflow:

Once you do that once, it will be available everywhere. So for example, suppose we have a note in Notes we want to share:

We tap the share button, and the share sheet comes up:

Then we tap “Run Workflow”, and select a workflow:

We tap “Tradervue Journal Entry”, and we will then see the note published to Tradervue:

Workflow is a powerful app on iOS, and when paired with the Tradervue API, there’s no limit to what you can do. We’d love to hear how you use Workflow to streamline your process of journaling and using Tradervue!


  1. If you are using Bear, and wish to preserve your markdown formatting, then instead of clicking the share button on a note, instead click the info button at the top right. Then tap MD (to export in Markdown), and then click the share button to send that to Tradervue with the formatting intact. 

Recent reports changes

On the Overview tab of the Reports View, the Recent report group has always shown the most recent 30 trading days of data. Now, we’ve added options to see 60 or 90 days with just a click:

These reports work with either gross or net P&L, and either in dollars, ticks, or R (risk).

And as always, it’s possible to see your cumulative P&L for any time range and set of trades you wish by going to the Reports View, Detailed tab, Win/Loss/Expectation group.